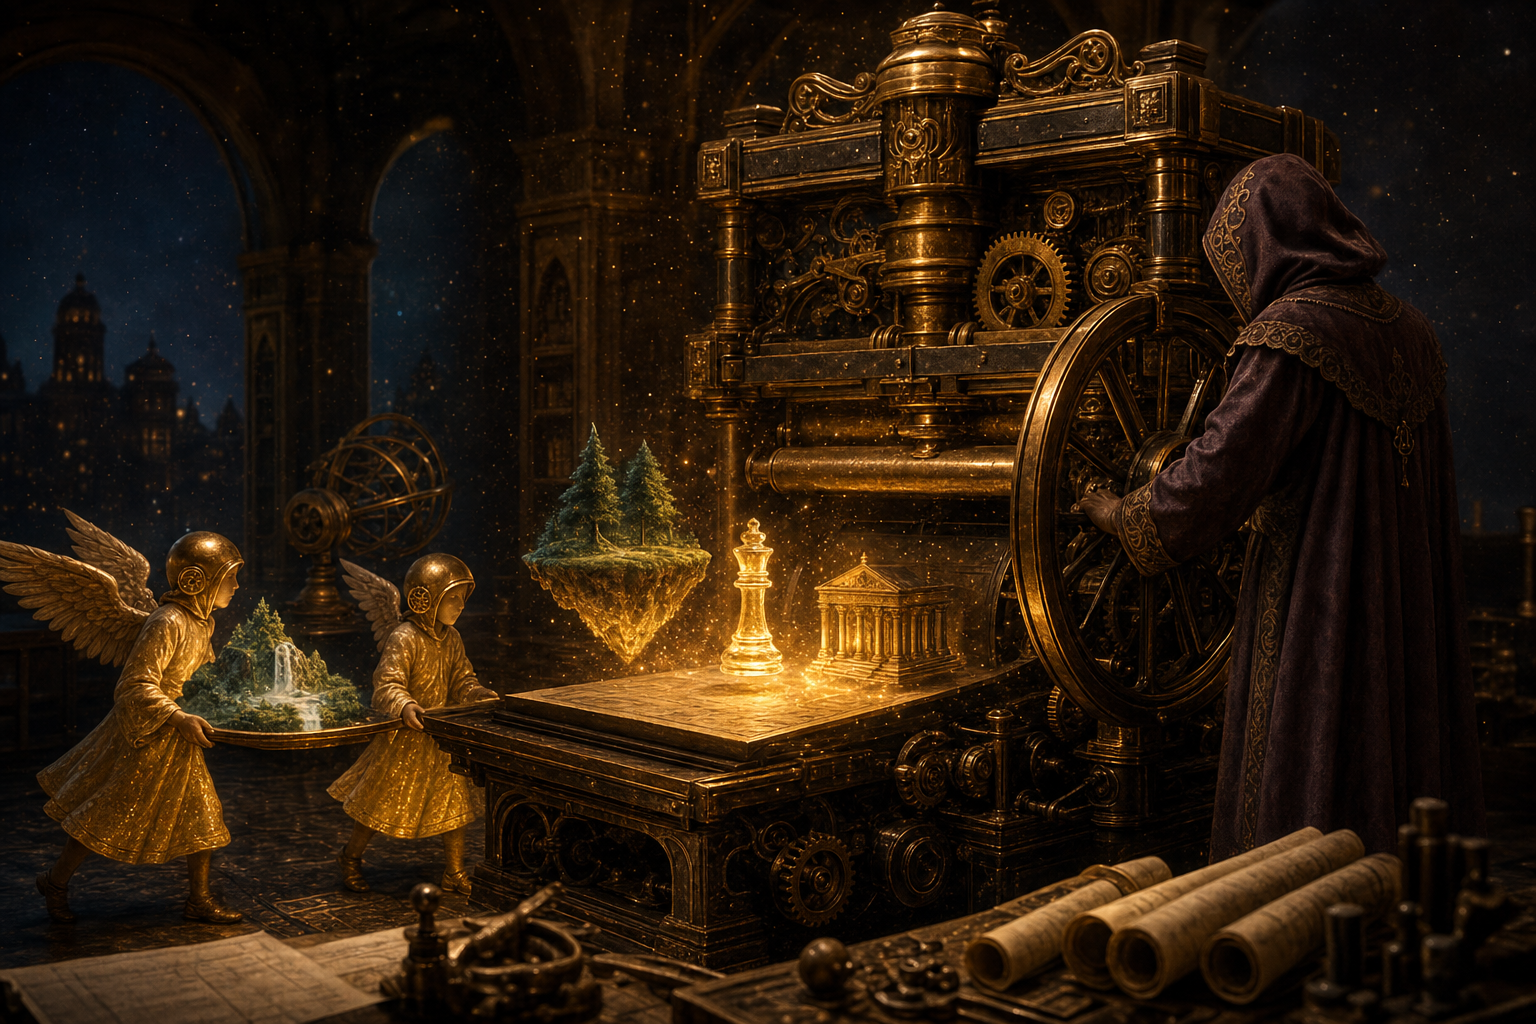
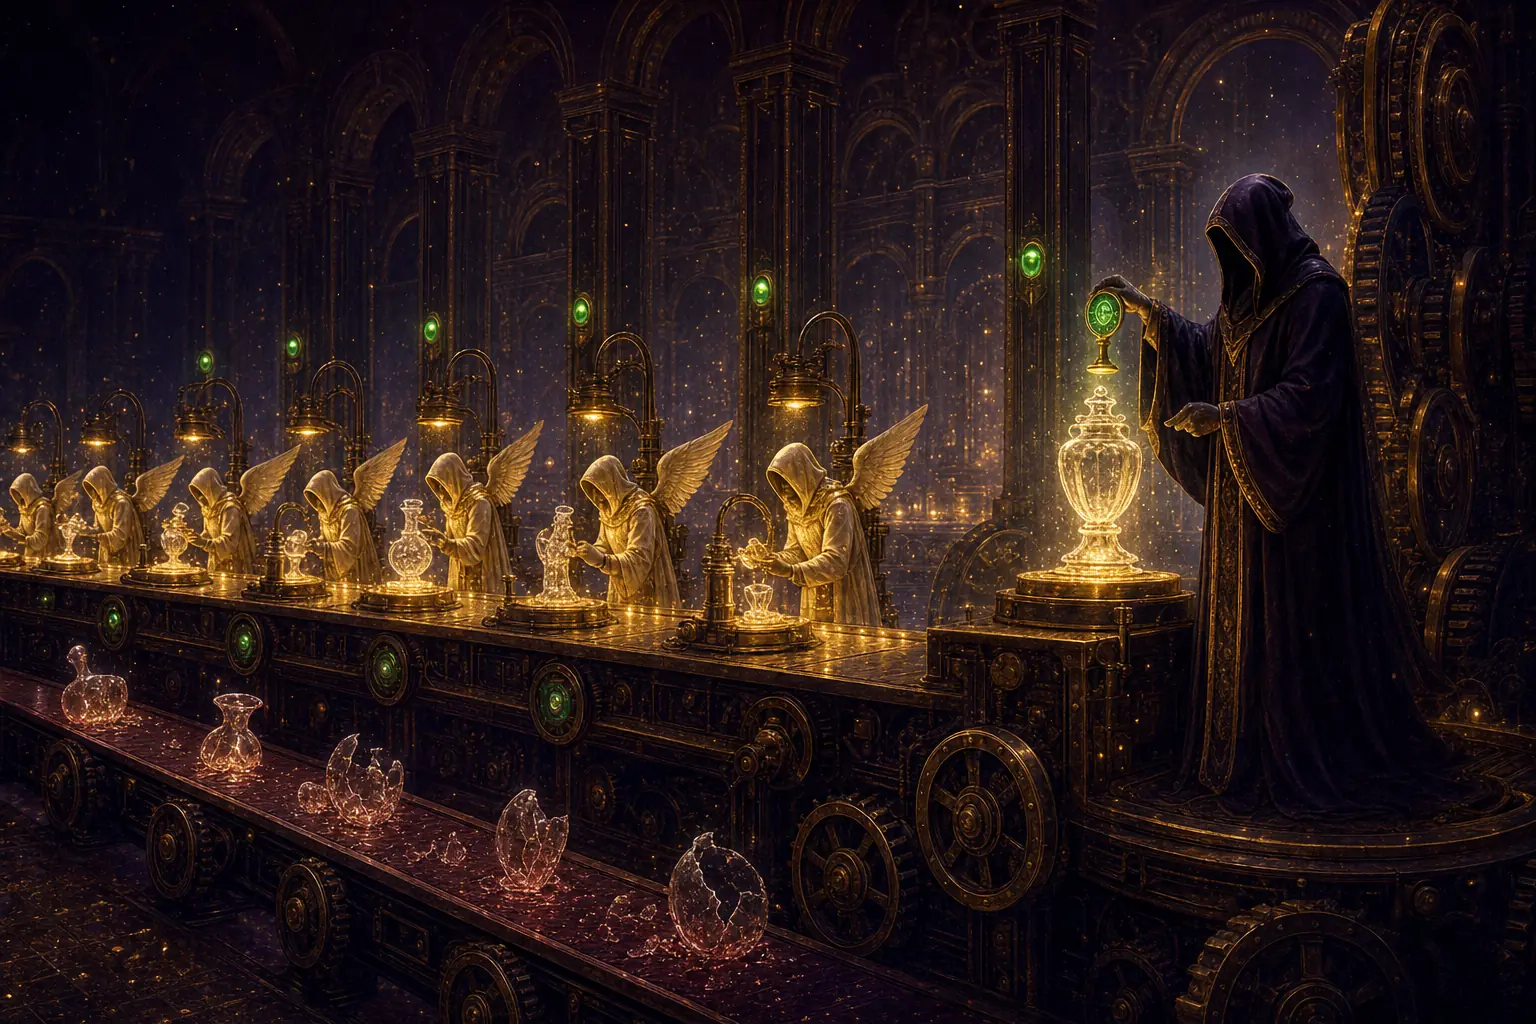
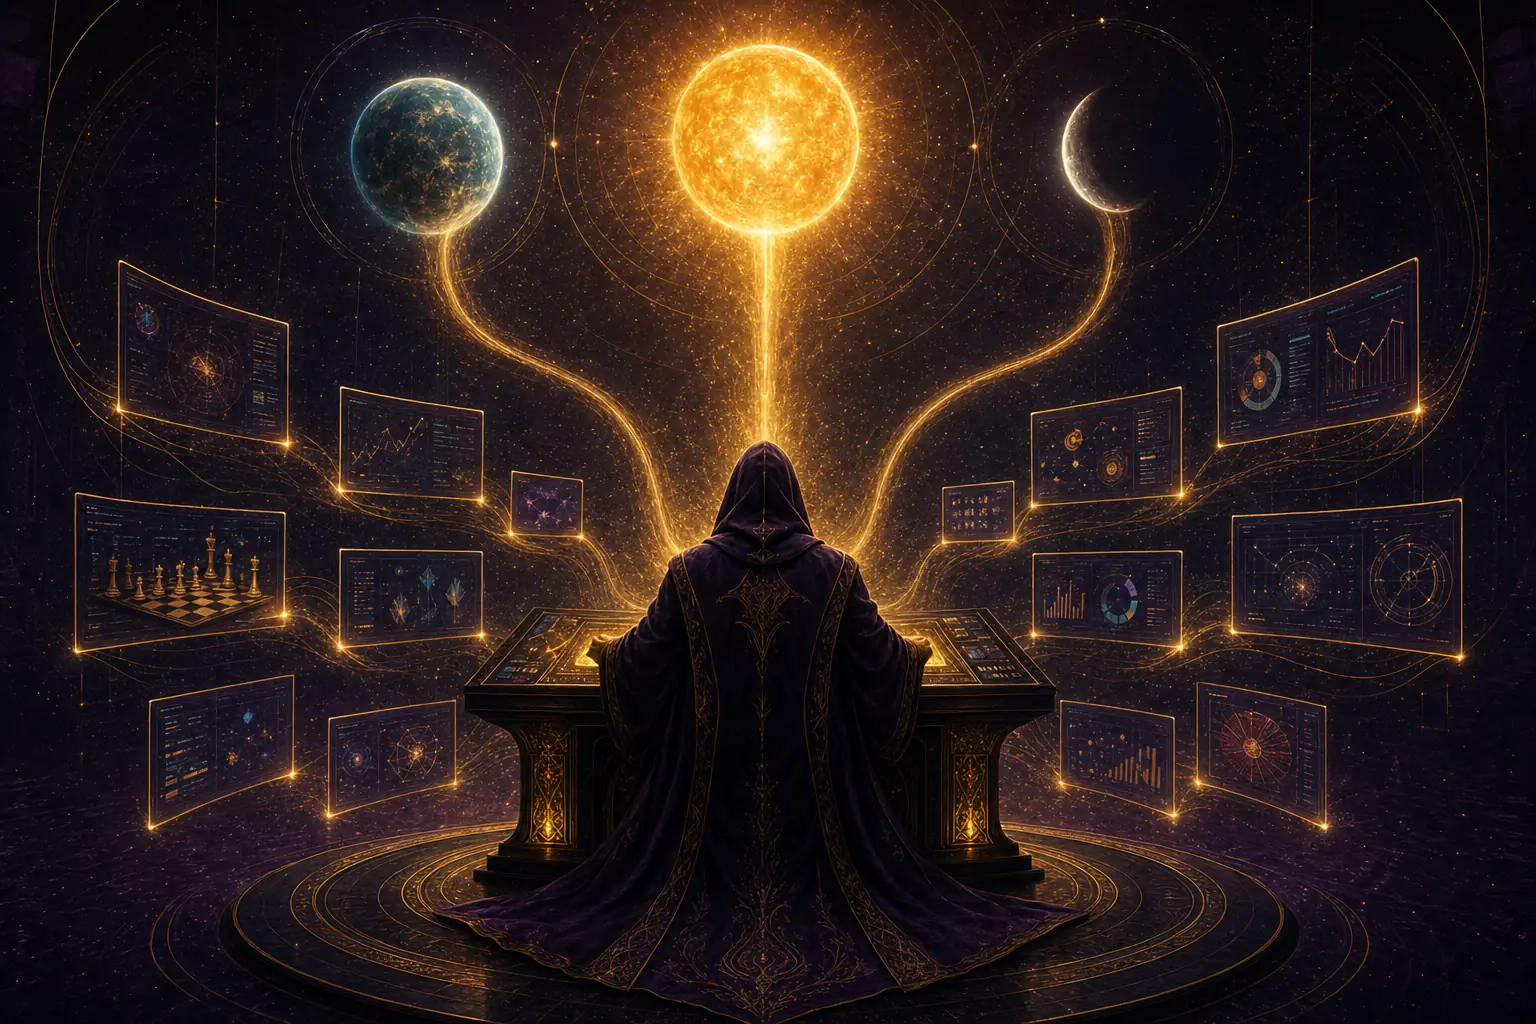
A printer where the ink is polygons and the document is whatever you just imagined. Type a sentence — your Hermes agent models it, lights it, frames it and renders it in Blender. Free, and it landed this week.
Not a picture — a world. The agent built this island, animated the float, orbited the camera and rendered the video. Every frame printed on my machine.
1
command to install it
22
Blender tools your agent gets
7
scenes I printed for this guide
$0
Blender + the MCP, both free
✦
I · the problem
The Ten-Thousand-Click Problem.
There's a 3D scene in your head right now.
A product shot for your store. A floating island for your game. A neon logo for your channel.
Between you and that image sit about ten thousand clicks.
Blender is free and professional — and famously brutal to learn.
Every beginner starts the same donut tutorial.
It takes hours. Most people quit halfway through.
So the scene in your head stays in your head.
Or you pay someone to build it, and wait a week for the first draft.
The Imagination Printer breaks that cycle for good.
Thinking it?"I've never opened Blender in my life."
Perfect — you don't have to. The agent presses the buttons; you describe the picture.
I built everything in this guide without touching the Blender viewport once.
✦
II · how it works, in simple words
A printer with three parts. You only touch one.
Blender is a free professional 3D program — the one behind countless game assets, ads and film shots. Its problem was never power. It was the ten thousand buttons.
MCP is a plug standard that lets an AI agent operate other programs. The Blender MCP is that plug for Blender.
And Hermes — the agent in my Agent OS — just added it to its catalog. One command installs the whole connection.
So the machine works like a printer:
You feed in a sentence. The agent translates it into real Blender actions — creating shapes, mixing materials, placing lights, aiming the camera. Blender does what it always does, at professional grade. A finished render drops out the other end.
the printer, end to end — sentence in, rendered scene out
Thinking it?"Letting an AI run code inside Blender sounds risky."
Honest answer: the main tool does execute code in Blender, at the same trust level as your terminal — so treat it like any agent tool, and run it on scenes you don't mind losing.
Hermes ships it sensibly: telemetry disabled, and the 18 paid asset-service tools are off by default. You start with the 4 core tools and switch on only what you want.
✦
III · exactly how it works, step by step
One scene's journey through the press.
Here's the actual run that produced the floating island you'll see below. Every step happened on my machine this morning.
1
I typed one prompt to Hermes. "Build a low-poly floating island — grassy top, waterfall off the edge, pine trees, floating rocks, golden-hour light — then render it to this file."
2
The agent read the scene. First tool call: get the current scene info. It saw the default cube and deleted it. Everyone deletes the default cube — even robots.
3
It modelled the island in code. Rock base, grass top, cone-and-cylinder pines, a translucent waterfall — each one a real Blender object with a real material.
4
It checked its own work. It took a screenshot of the viewport, looked at it, and adjusted — this is the part that separates an agent from a script.
5
It lit and framed the shot. A warm sun, a soft blue sky, and a camera moved to a low three-quarter angle — composition, not just geometry.
6
It rendered and verified. Set the engine, set 1280×720, rendered to my folder — then confirmed the file existed, with its resolution and even a checksum, before calling the job done.
the proof-sheet loop — the agent inspects its own composition before spending a render
So when someone asks "but what IS it?" — it's a socket between your agent and a running Blender, so the agent can press every button Blender has.
IV · the sources — straight from the launch
Read the announcement. Then open my prints.
"Easily activate and install the Blender MCP by running `hermes mcp install blender` and ask your agent to start using blender. It'll also set you up more efficiently, by disabling paid extra tools the MCP comes with by default."
— Teknium (Nous Research), on X, 15 July 2026
The launch tweet · read it yourself
One command, straight from the catalog
This is the announcement that started this guide: the Blender MCP joining the Hermes Agent MCP Catalog. The detail that matters — Hermes handles the whole setup and switches off the paid extras by default, so the out-of-box install is the free one. The quote-tweet underneath it shows a floating iPhone scene a designer built with "five prompts and 40 minutes."
The proof tweet · the bar to beat
"Five prompts and 40 minutes"
This is the post that set the standard — a working designer who's "been using blender for a while" made a floating iPhone render with five prompts and said he never got results this good by hand. The quote inside it is even better: someone who had never opened Blender in his life made a floating MacBook the same day. That's the test I re-ran for myself below.
The scene in your head was never the problem. The ten thousand clicks were.
V · the install
Three steps. The agent does the rest.
Step 1 — make sure Hermes is current, then install the MCP from the catalog:
hermes update
hermes mcp install blender
Step 2 — Blender itself, if you don't have it (free, one line on a Mac):
brew install --cask blender
Step 3 — the bridge add-on inside Blender. Download addon.py from the GitHub repo, then in Blender: Edit → Preferences → Add-ons → Install, pick the file, tick it on. Press N in the viewport, open the BlenderMCP tab, click Connect.
That's the whole machine. Blender runs with the add-on connected; Hermes talks to it through the socket; you talk to Hermes.
Thinking it?"What does this actually cost to run?"
Blender is free. The MCP is free and open source. The Hermes install command is free.
The only thing that was ever going to cost money — the bundled third-party asset services — ships switched off. The one free asset library (PolyHaven) needs no key if you ever want it.
✦
VI · the levitation test — my own run
I re-ran tonbi's test. Four products, eight prompts.
The launch proof was a floating iPhone in five prompts. I didn't want to copy it — I wanted to know if the result repeats on fresh subjects. So I ran my own test: four different floating products, each refined the way tonbi described — build, look, ask for fixes. Here's exactly how each one went.
Test 1 · floating phone · 3 prompts
What you're looking at: prompt one built the phone but too long and narrow. Prompt two fixed the framing. Prompt three set exact real-phone dimensions and softened the backdrop. The agent kept the scene alive between prompts — each fix was a sentence, not a rebuild. Then one more sentence turned the finished scene into this looping video: a float bob, a camera arc, 150 rendered frames.
Test 2 · floating watch · 2 prompts
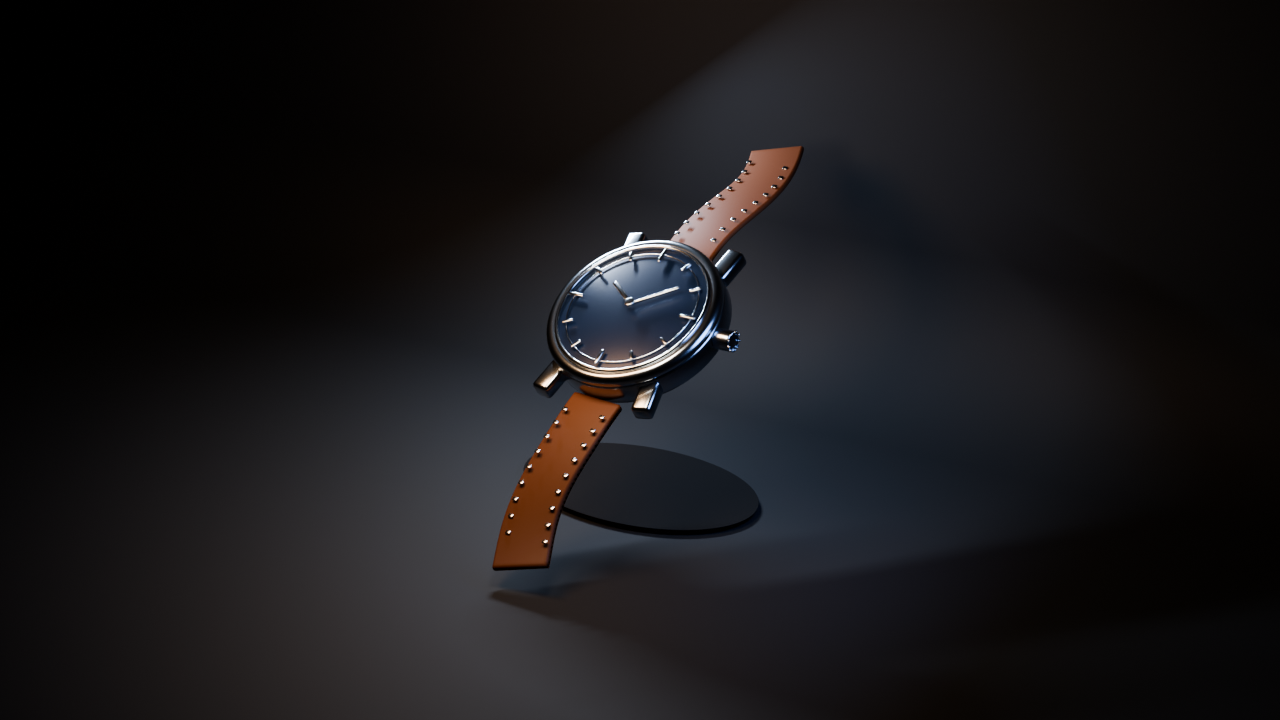
What you're looking at: round one nailed the watch — steel case, navy face, hands at ten-past-ten — but the backdrop curve read as a pipe behind it. One more sentence replaced it with a seamless cove and relaxed the strap. Done in two. (This one's the still — the moving prints are above and below.)
Test 3 · floating headphones · 2 prompts
What you're looking at: round one had beautiful materials but cropped the headband and flipped one cushion outward. Round two reframed and rotated the cup. Then the agent animated its own scene into this loop — bob, rock, camera arc.
Test 4 · perfume bottle · 1 prompt
What you're looking at: backlit amber liquid, gold cap, an emerald cove — and the agent invented the AURELIA label on its own; I never asked for one. The video renders use Blender's fast engine so 150 frames finish in minutes; the stills use the photoreal engine.
Thinking it?"So how many prompts does a good result really take?"
My honest scorecard: one product took a single prompt, two took two, the trickiest took three. Eight prompts for four finished product shots — right in line with the "five prompts" from the launch post.
The pattern that matters: you never start over. Every fix is a sentence aimed at the live scene.
VI½ · the style range — same machine, different genres
Product shots are one tray. Same session, same machine, three completely different styles:
Range 1 · game-asset style · "a low-poly floating island"
What you're looking at: a full orbit of a little world — island bobbing, rocks drifting on their own rhythms, waterfall frozen mid-pour. The agent modelled it, animated it, and rendered all 240 frames. This is the "3D virtual world" part of the promise, moving.
Range 2 · brand visual · "a neon sign on a reflective floor"
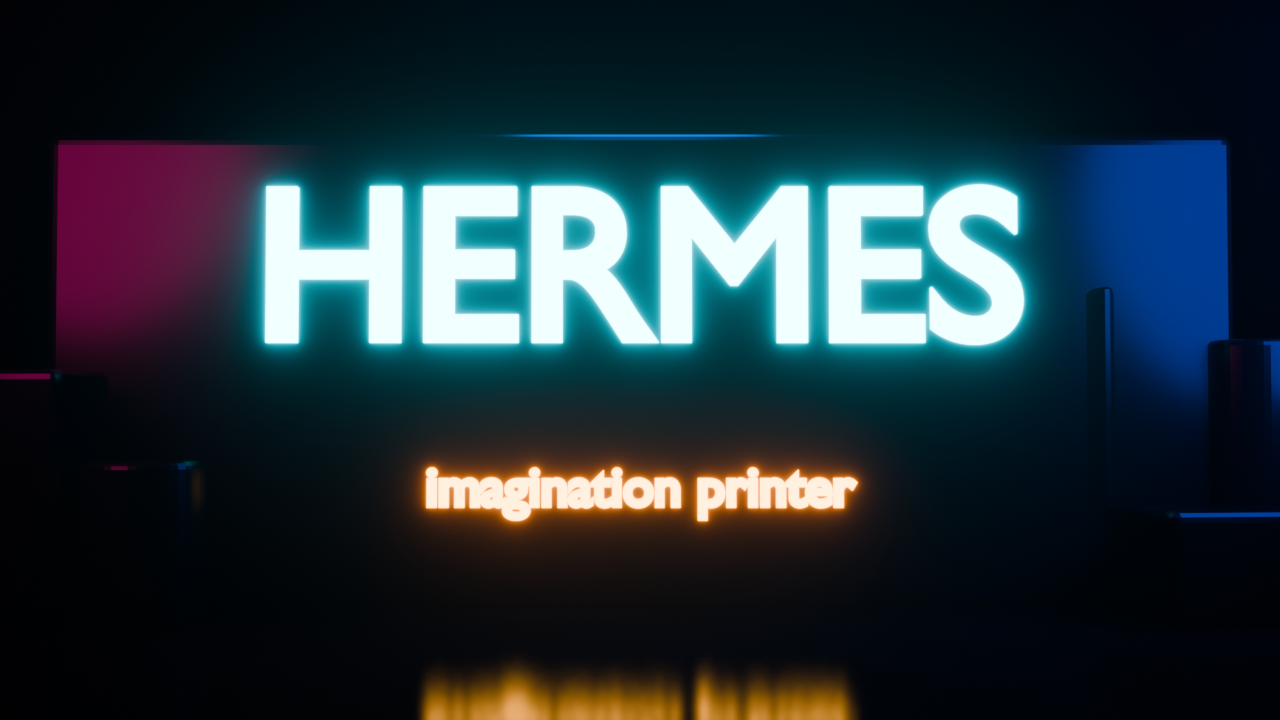
What you're looking at: real 3D neon — emissive tube letters with bloom, reflecting in a glossy floor, magenta and blue rim panels for depth. This is a brand asset you could ship, printed from one sentence.
Range 3 · glass study · "a glass chess piece, studio lighting"
What you're looking at: a glass chess king with a frosted pawn, three-point studio lighting, rendered in Cycles — the photoreal engine — because glass needs real light bouncing. The agent chose the settings; I chose the words.
Behind the curtain · the actual Blender session
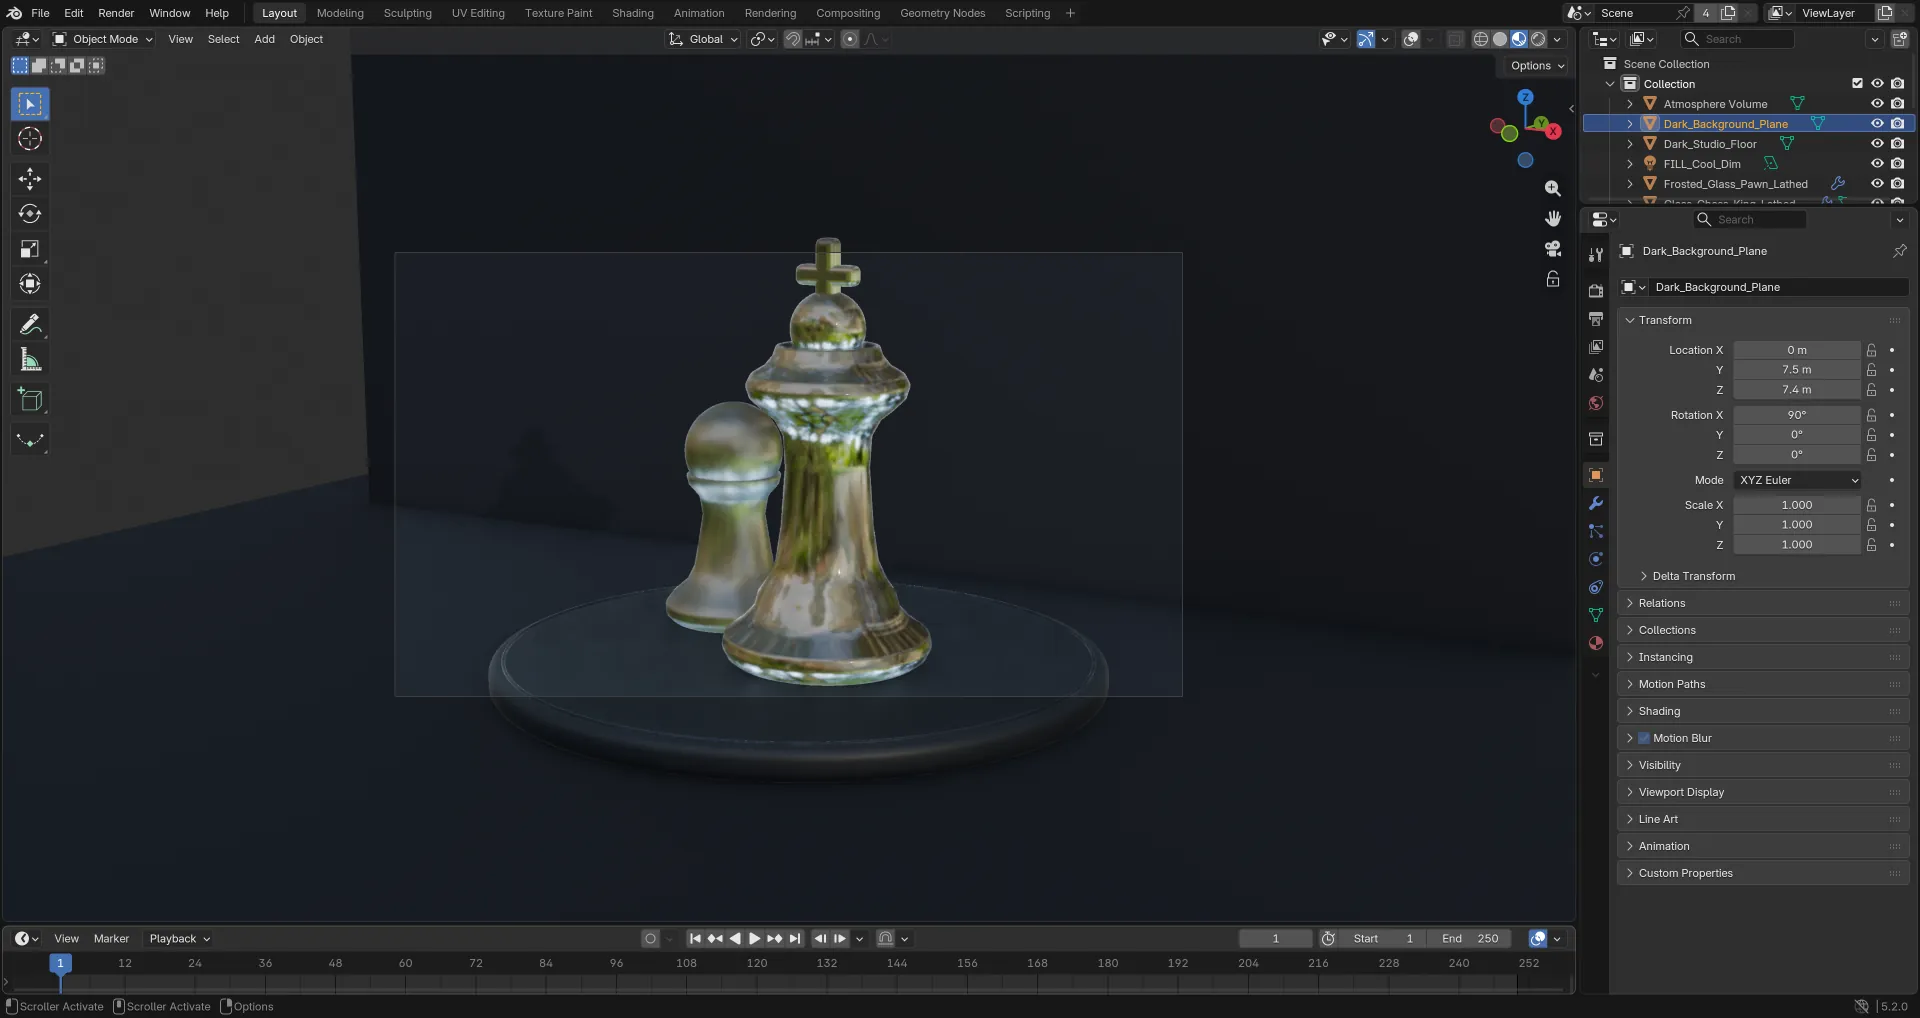
What you're looking at: the real Blender window on my Mac after the chess build — the scene sitting in the viewport, built entirely by the agent over the MCP socket. I never touched it.
Thinking it?"I already make AI images. Why bother with 3D?"
An AI image is a flat guess. This is real geometry — you can re-angle the camera, change one material, animate it, or export the model into a game or ad.
You own a scene, not a picture of one.
✦
VII · the framework
The five parts of the Imagination Printer.
i.
The Ink
Your sentence. The richer the description — mood, light, materials — the better the print. Words are the only raw material you supply.
ii.
The Printhead
The Hermes agent. It translates your words into real Blender operations — the ten thousand clicks, done for you in code.
iii.
The Press
Blender itself — free, professional, the same software behind real games and film shots. The MCP gives your agent all of it.
iv.
The Proof Sheet
Mid-job, the agent screenshots the viewport and inspects its own composition — catching odd geometry before wasting a render.
v.
The Print Tray
Finished renders land on your disk, verified — resolution checked, file confirmed. Assets you own and can reuse anywhere.
one machine, four trays — the three prints from this guide, plus the empty one with your name on it
You describe the picture. The machine presses the buttons.
VIII · old way vs new way
What a 3D scene used to cost you.
three routes to the same image — the third one shipped this week
Old way
months to learn, or days + real money per scene
Start the famous donut tutorial, quit halfway like everyone
Thinking it?"Doesn't running the Agent OS burn a fortune in tokens?"
No — that's the biggest myth about it. The everyday 90% runs on free local models on your own machine, and free APIs slot in for more — today's whole topic is a free MCP driving free software.
For the frontier work, the Agent OS drives the CLIs you already pay for — your Claude subscription already includes the Claude Code CLI, and the OS plugs straight into it. You're not paying twice; it's a layer on top of what you already own.
And inside the AI Profit Boardroom there are full token-optimisation tutorials, so usage drops even further and you never think about it again.
✦
IX · three beliefs to drop
What's actually holding you back.
Wrong: "3D is a skill you need years to earn before you can make anything."
Right: 3D was ten thousand clicks of interface knowledge sitting in front of a describable picture. The clicks just became automatic; the describing was always the part you could do.
Wrong: "Agent-made 3D will look like programmer art."
Right: The agent screenshots its own viewport and fixes the composition before rendering. The three prints above came out of that loop — judge them yourself, full res, one click away.
Wrong: "This is a toy for 3D hobbyists, not for my business."
Right: Product shots, channel branding, game assets, ad visuals — the three prints in this guide are three different billable categories, printed in one morning.
Don't take my word for it
Members post their wins every day — agency owners, ecom founders, course creators, solo operators across 38 countries. Real businesses, real numbers, in their own words.
Every render in this guide came off my machine within a day of the launch tweet — the install, the four-product levitation test, and the three style-range scenes. Same stack that runs my agency and channel.
Update Hermes.hermes update — the Blender entry landed in the catalog this week, so you want current.
2
Install the MCP.hermes mcp install blender — one command, paid extras off by default.
3
Install Blender.brew install --cask blender on a Mac, or the free download from blender.org.
4
Add the bridge add-on. Get addon.py from the GitHub repo, install it in Blender's preferences, tick it on.
5
Connect. Press N in the viewport → BlenderMCP tab → Connect. Blender stays open; the socket waits for your agent.
6
Print something simple. "Delete the default cube and build a low-poly campfire scene, warm light, render to my desktop." Watch the viewport move on its own.
7
Ask for a self-check. Tell the agent to screenshot the viewport and fix composition before the final render — that one line upgrades every print.
8
Print something you'd actually use. Your logo in neon. A product shot. A thumbnail prop. The first useful render changes how you see the whole machine.
✦
XII · the 30-day roadmap
From "never opened Blender" to a shelf of assets.
Week 1
Install + first prints
The three-step setup, then five throwaway scenes. Learn how your words change the output.
Week 2
Print for your brand
Your logo in neon, a product on a pedestal, a scene for your next thumbnail. Real assets, reused immediately.
Week 3
Learn the revision loop
Stop re-prompting from scratch — ask for changes to the live scene. Warmer light, closer camera, new material.
Week 4
Chain it into the OS
Renders that drop straight into thumbnails, guides and videos — the printer becomes one desk in the bigger factory.
Words in. Worlds out. That's the whole machine.
the recap
What you just gained.
i.
You skipped the donut.
The months-of-tutorials phase of 3D is now optional. Describing replaced clicking.
ii.
You gained a 3D department.
Modelling, materials, lighting, camera, rendering — one agent runs all five desks.
iii.
You stopped paying per scene.
Blender is free, the MCP is free, revisions are a sentence instead of an invoice.
iv.
You gained assets you own.
Real geometry — re-angle it, re-light it, animate it into video, export it. Not a flat image.
v.
You gained a self-checking artist.
The agent proofs its own viewport before the final render. Fewer bad prints, no babysitting.
vi.
You gained it in one command.
hermes mcp install blender — the whole printer, from the catalog, free.
The AI Profit Boardroom is where the actual Agent OS lives — the templates, the prompts, the daily rooms, the weekly walkthroughs. Same builds you read about here, taught hands-on inside.